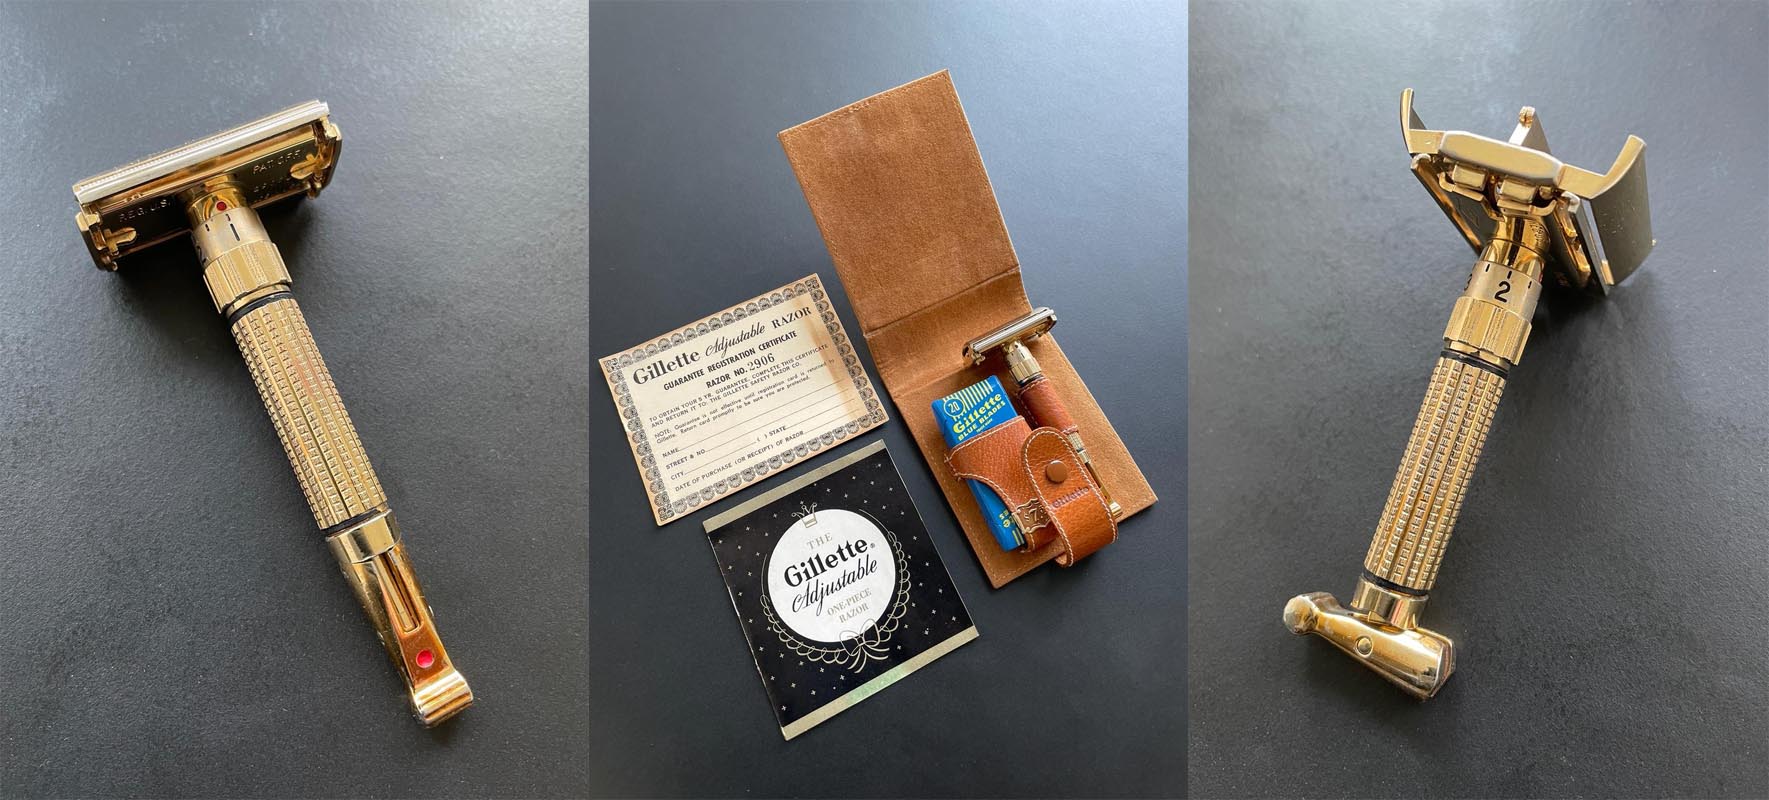
Serial Toggle 2906 Repair
I was contacted by a well known collector a while back. He bought Serial Toggle number 2906 and sent it in for repair.
To cut a long story short - they couldn't repair it and sent it back to him. He in turn forwarded it onto me and this is what I received.
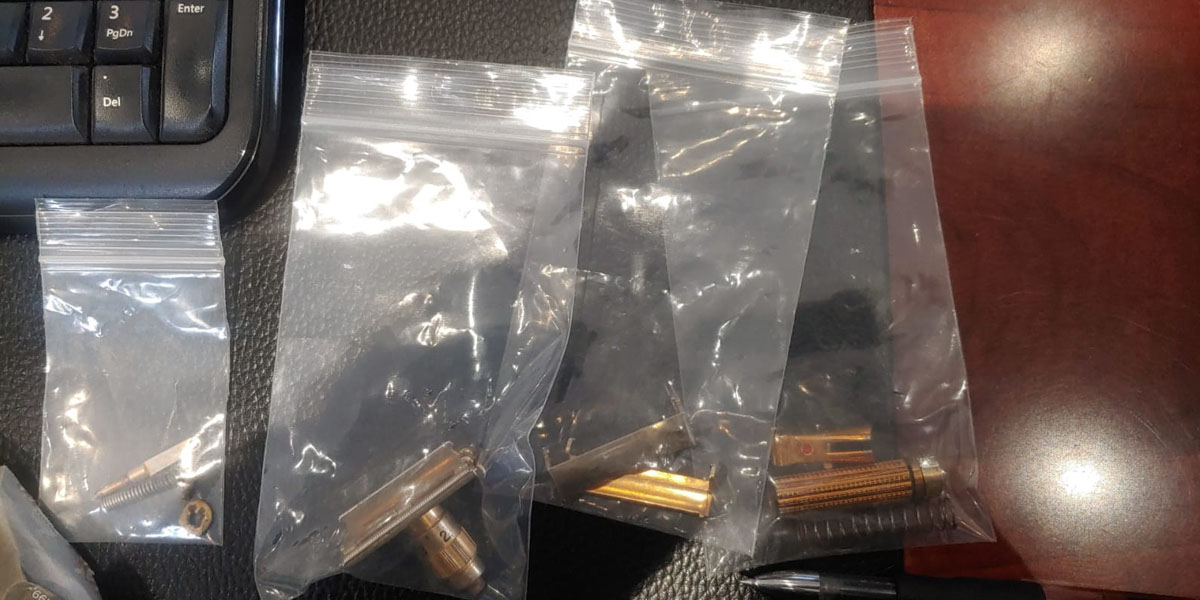
There were two problems with it. The first is that the the piece that connects the spring to the "positioning" bar that holds the razor closed was broken and the second is that although the adjustment mechanism works, there were no "Gillette" clicks.
The razor was "disposable" and made in order for Gillette to sell "overpriced" blades - it was never mean't to be collected. The little piece was made in brass and at some point would fail. The click mechanism would wear over time and lose the click.
Fixing the first issue - the broken connector piece
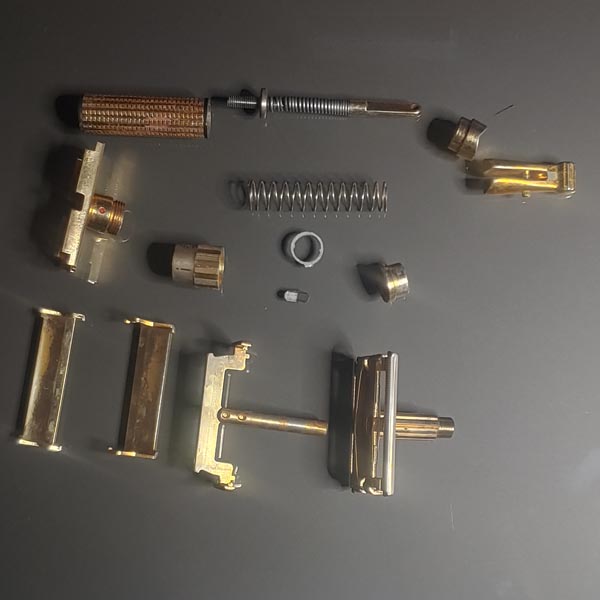
I could see what the problem was immediately as it arrived in pieces.
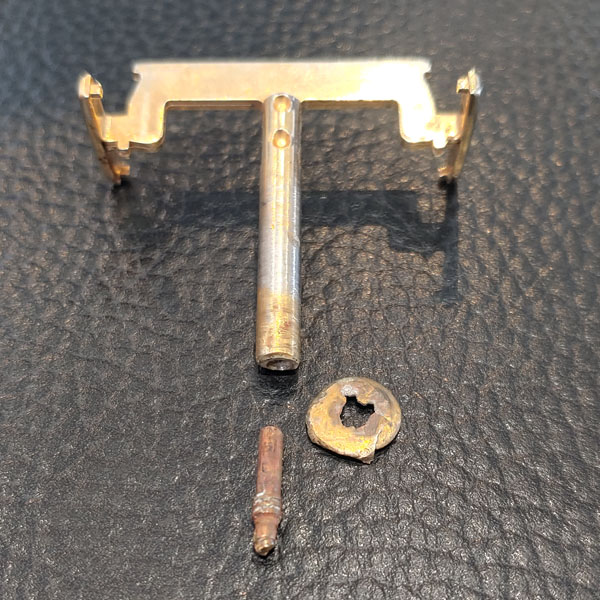 They broke the piece that screws into this positioning bar. |
 This is just another view of the bar showing the broken piece inside. |
 Lets start on the repair. |
 Why Stainless Steel - You Ask... |
 The next step was to make the disc. This I turned out of brass. It's only there to hold the big spring in place and there is no force on it. |
 Here I'm just checking that the threads match - |
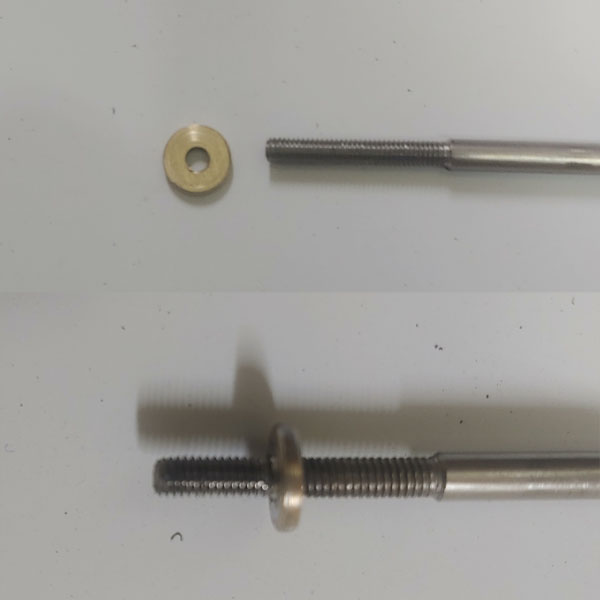 The top half of the image above shows the parted disc with the thread and the bottom shows both pieces silver soldered together and it all cleaned up. |
 Up to this point, I hadn't touched any part of the razor and I contacted the collector to confirm that I could go ahead - which of course he agreed!!! |
 Here I'm done with tapping the shaft of the bar. |
 I'm just testing for depth. I left the top thread long in order to get it to fit deep in the center bar. |
 The finished piece in the bar. |
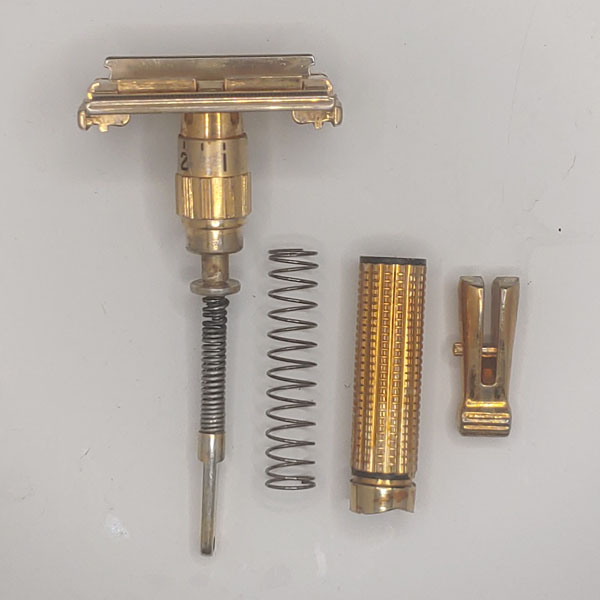 Everything together. |
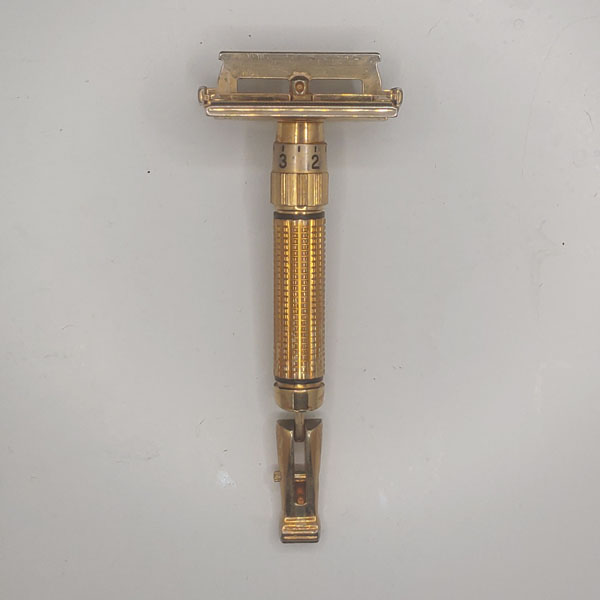 Checking everything again before I move onto the next part. |
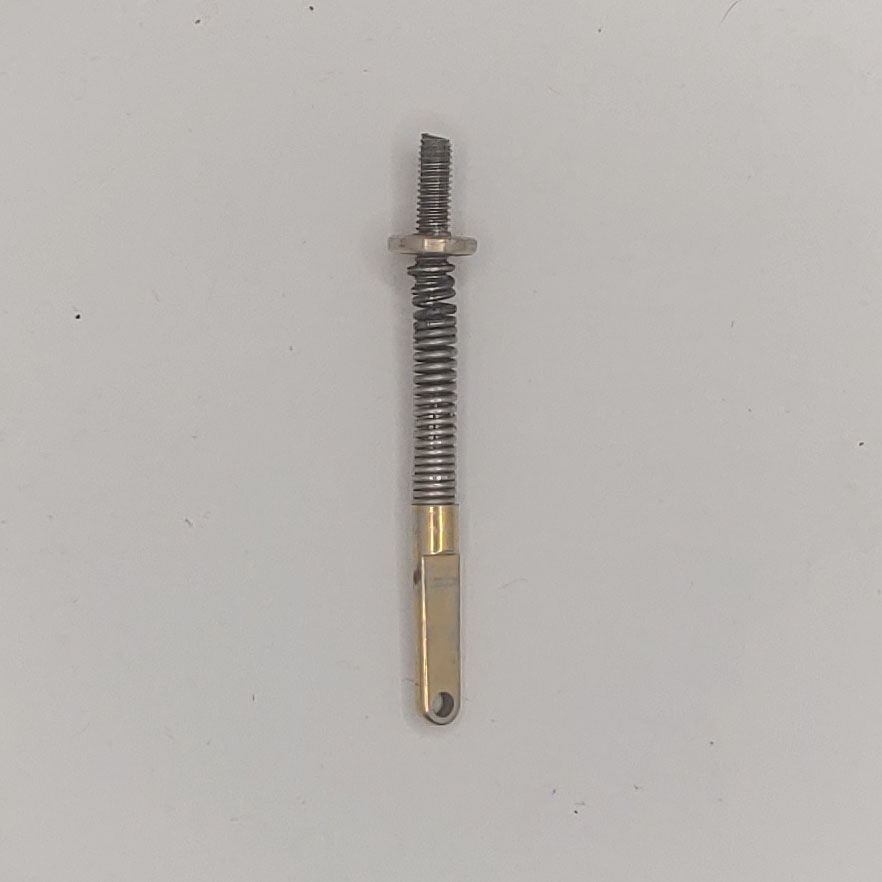 The remade piece. |
So far so good. |
Fixing the second issue - the missing "Gillette" click
I needed to pull the head apart in order to see what this issue was.
There is a tiny rectangular piece of spring steel with a "ridge" in it. The clicks are a result of that little ridge engaging with the splines on the adjuster plate.
If I understand the mechanism correctly, that spring could be broken, or missing (which would mean that someone has had this open before) or the splines themselves could be worn.
When I started this, I had absolutely no idea on how I was going to make a new stainless steel spring if that what was needed.
What you see below is some thinking out of the box.
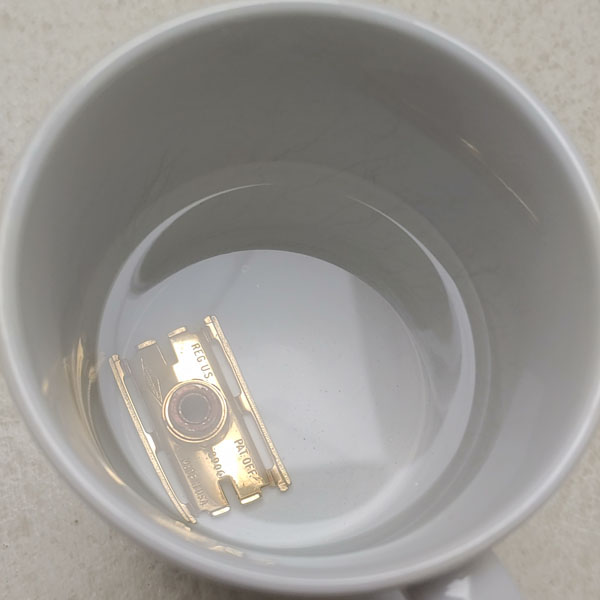 Current status of the head section. |
 Plan B: I have the head sitting in my kitchen with a spray can of penetrating oil next to it. |
 Plan B Worked 💪 |
 After some thinking.... |
 This is Plan C. |
 ALL DONE!!! 💪 |
 It's all together and everything works as it should. |
 So how does it shave? |
To finish off. |
It arrived back at it's home.
According to the owner, it's taken over a year from the original purchase date to getting it all in one piece.
It's the complete kit, with the shipper, pouch and the matching numbered Guarantee card. These are a few of the pictures that he sent me.